
Goto Homepage
Step 1: Click on Login / Register in the top-right header.

User Registration Form
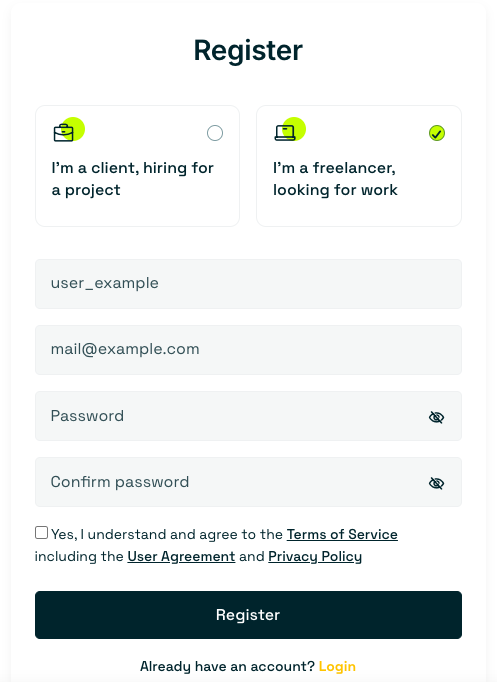
Step 1: Select account type (Freelancer or Client).
Step 2: Fill in Name, Email, Password, and Confirm Password.
Step 3: Check the Terms of Service agreement box.
Step 4: Click Register.
Navigating to Profile Settings
Step 1: Click Settings.
Step 2: Click Profile Settings.
Profile Description Setup
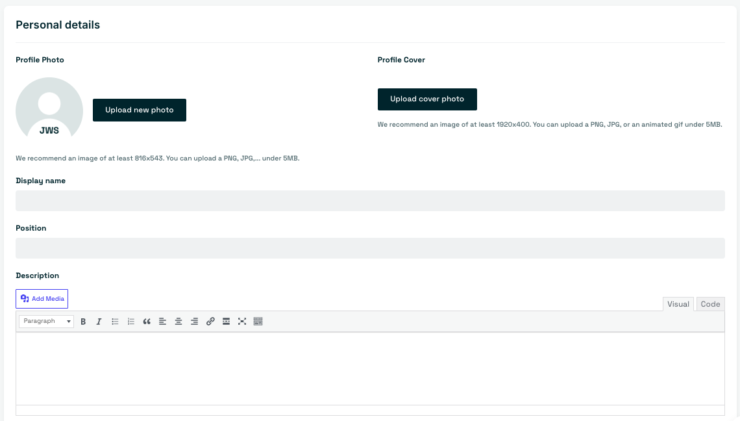
Step 1: Enter your full bio/about me text in the Description editor.
Step 2: Enter a short profile summary in the Excerpt field.
Additional Details Setup
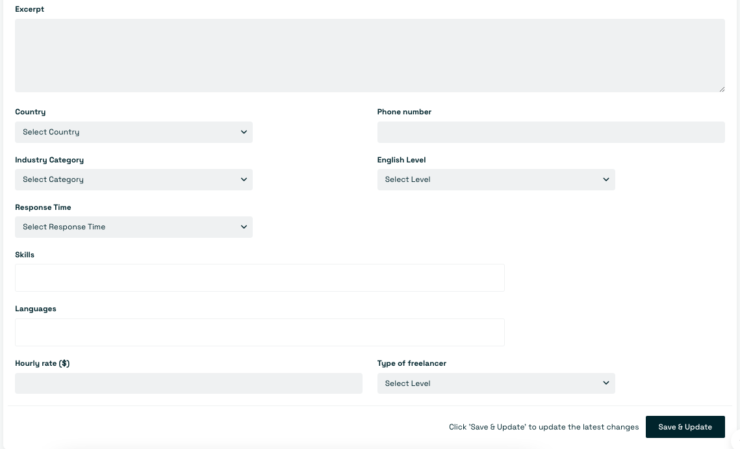
Step 1: Select Country, Industry Category, English Level, Response Time, and add your Phone number.
Step 2: Add your Skills, Languages, Hourly rate ($), and Type of freelancer.
Step 3: Click Save & Update.
Experience & Education Setup
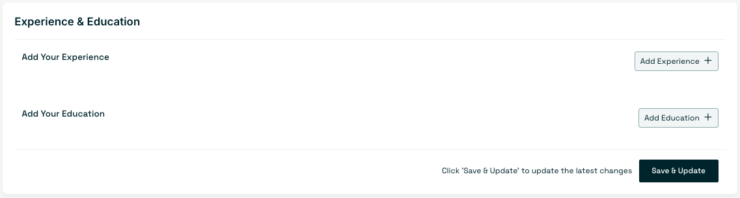
Step 1: Click Add Experience + to enter your work history.
Step 2: Click Add Education + to list your academic background.
Step 3: Click Save & Update.
Account Settings Setup
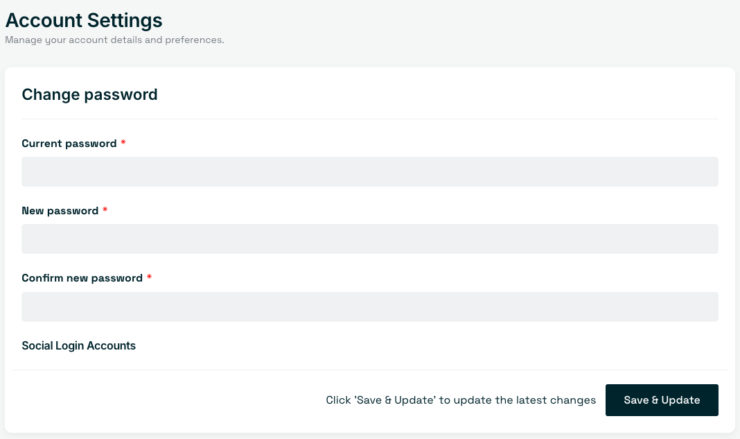
Step 1: Go to Settings → Account Settings.
Step 2: Enter your Current password, New password, and confirm new password.
Step 3: Click Save & Update.
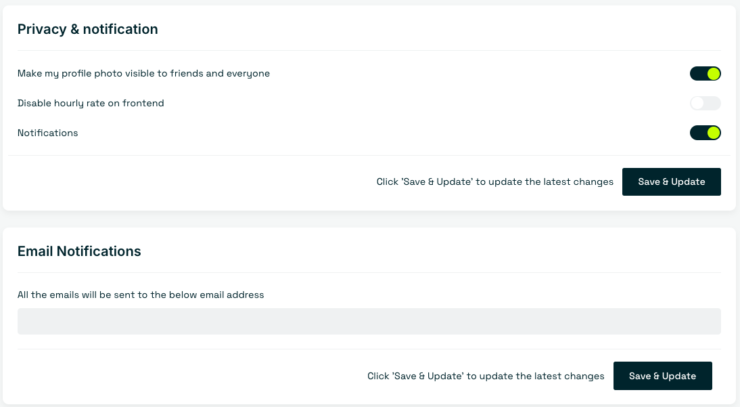
Privacy & Notification Setup
Step 1: Navigate to Settings → Account Settings.
Step 2: Toggle your Privacy & notification preferences and click Save & Update.
Step 3: Set your Email Notifications address and click Save & Update.
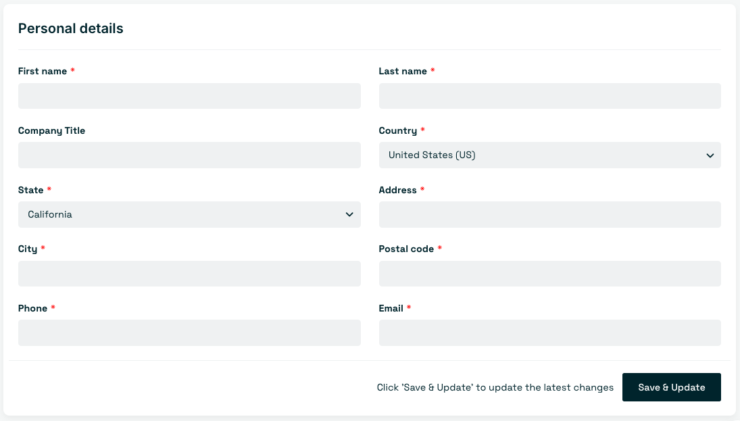
Billing Information Setup
Step 1: Go to Settings → Billing information.
Step 2: Fill in your personal details, including Name, Address, and Contact Information.
Step 3: Click Save & Update.
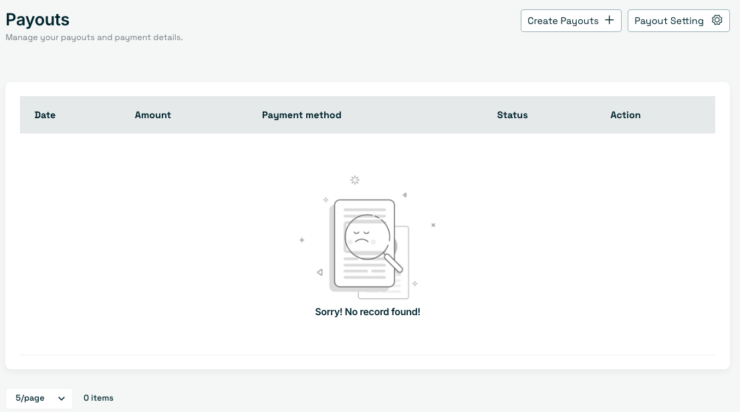
Payout Request Steps
Step 1: Go to Payouts → click Create Payouts +.
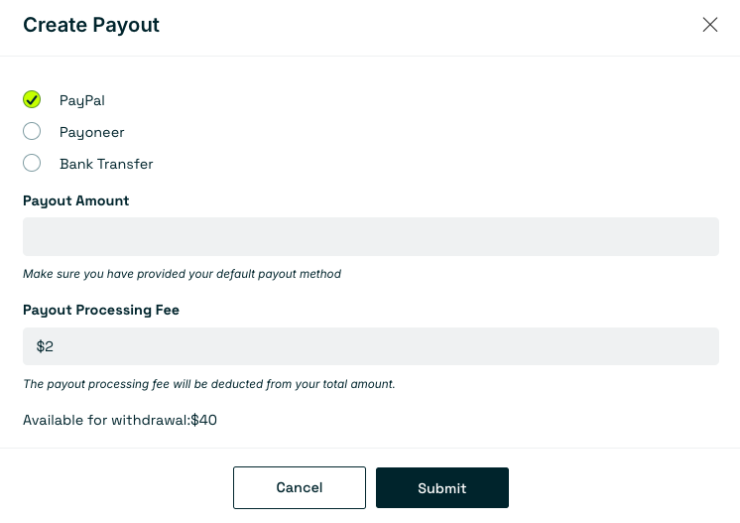
Step 2: Select a payment method, enter the Payout Amount, and click Submit.
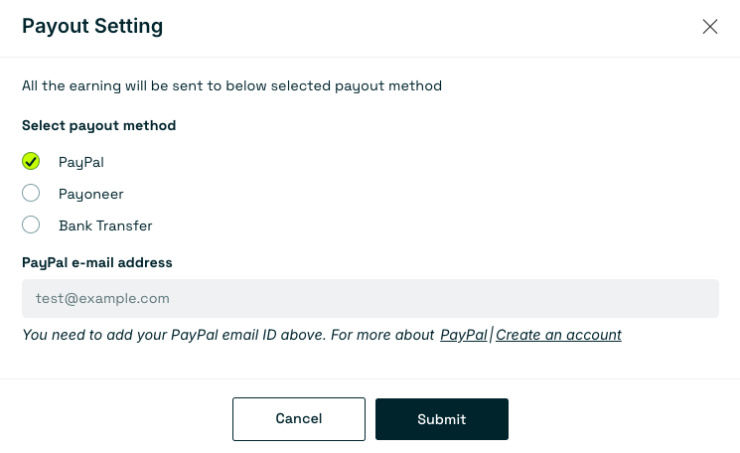
Payout Settings
Step 1: Click Payout Settings on the Payouts page.
Step 2: Choose a payout method: PayPal, Payoneer, or Bank Transfer.
Step 3: Enter your account details and click Submit.
Invoices Access
Step 1: Click Invoices in the sidebar menu.
Step 2: View and manage your listed invoices, including Invoice ID, Invoice Date, Payment Type, Amount, Status, and Action.

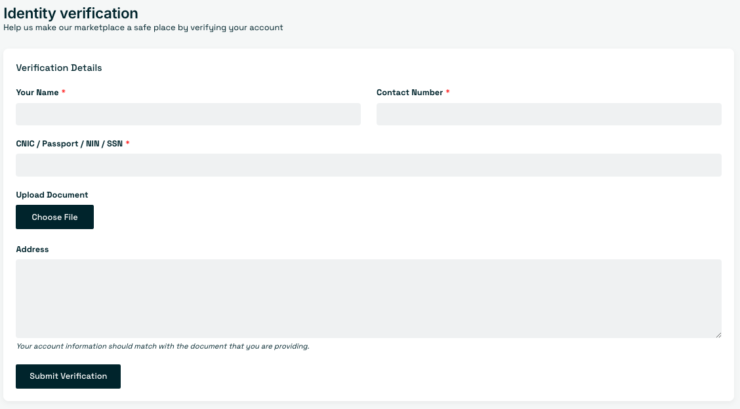
Identity Verification
Step 1: Click Verify Identity in the sidebar menu.
Step 2: Enter Your Name, Contact Number, CNIC / Passport / NIN / SSN, and Address.
Step 3: Click Choose File under Upload Document to upload your ID.
Step 4: Click Submit Verification.
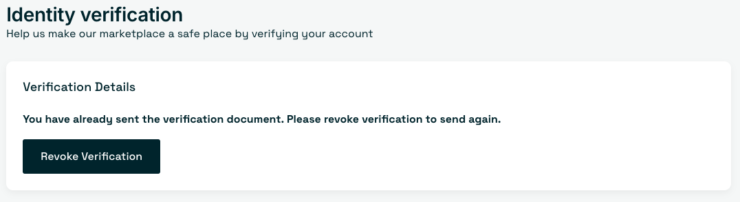
Once done, you will see this screen ( If you submitted the wrong document by mistake, you have an option to revoke verification).
Portfolio Settings
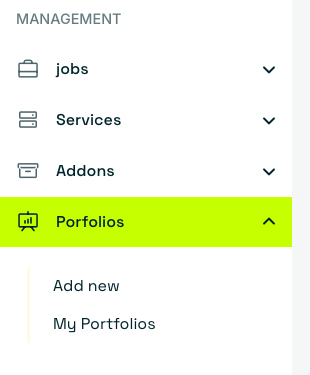
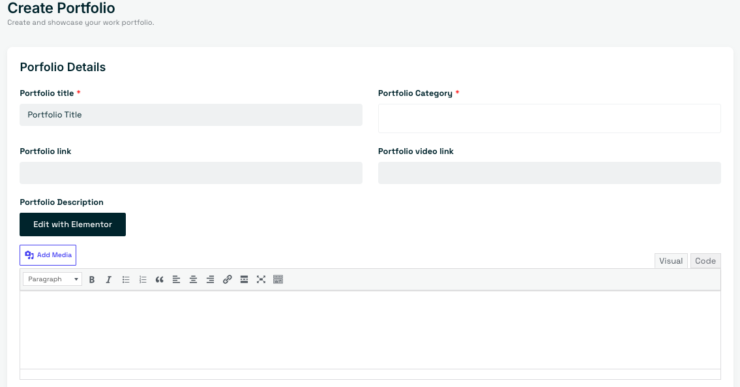
Step 1: Click Portfolios under Management in the left sidebar.
Step 2: Click Add New.
Step 3: Enter your Portfolio Title and select a Portfolio Category.
Step 4: Add your project links, description, and Project Thumbnail.
Step 5: Save or submit your portfolio.
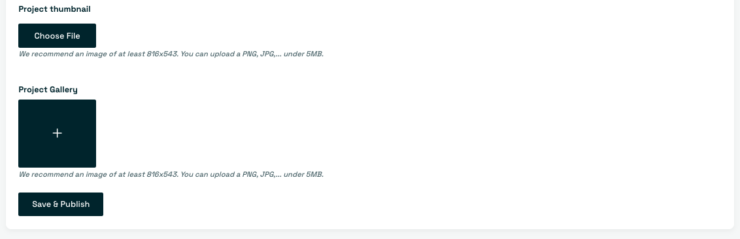
Project Thumbnail & Gallery
Step 1: Click Portfolios → Add New.
Step 2: Fill in the title, category, links, and description.
Step 3: Click Choose File under Project Thumbnail to add a cover image.
Step 4: Click + under Project Gallery to add photos.
Step 5: Click Save & Publish.
Managing Your Portfolios
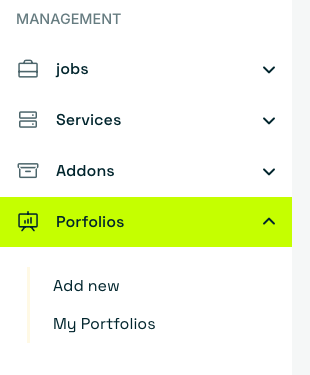
Step 1: Click Portfolios under Management in the left sidebar.
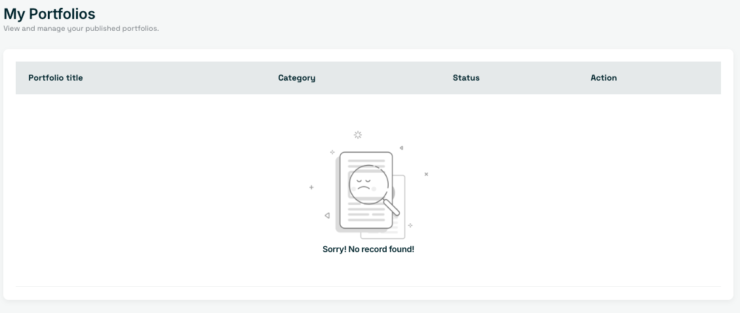
Step 2: Click My Portfolios.
Step 3: View, track, or manage your published projects in the table.